Use the Power Apps Creator Kit to save your UI development time: The Creator Kit, published by the Microsoft Power CAT team, is a collection of Fluent UI controls and templates for Power Apps makers to create delightful app experiences more rapidly.
With this deprecation, XRM object won’t be available in HTML web resources. This will mainly affect the HTML web resource as part of the SiteMap, parent.Xrm.* also won’t work. Read more here
Power Fx is the general-purpose, strong-typed, declarative, and functional programming language used across the Microsoft Power Platform. This excel-like formula language helps app makers to create apps using low code, read more about Power FX here.
With the latest announcement, Microsoft is giving another level of possibilities with Power FX. Now, you can bind the AI model to any control using Power FX. You heard it right! any control. Earlier it was possible to use AI with the AI builder controls only. Now, Microsoft has made it easier than ever to add intelligence to your Power Apps directly through Power FX. Let’s see how to use this feature for a text control to detect the language entered.
Turn on the AI models as data sources option
Figure1: Turn on Ai model as data source
In your power app, under the app settings go to Upcoming features > Preview, and turn on the AI model as data sources.
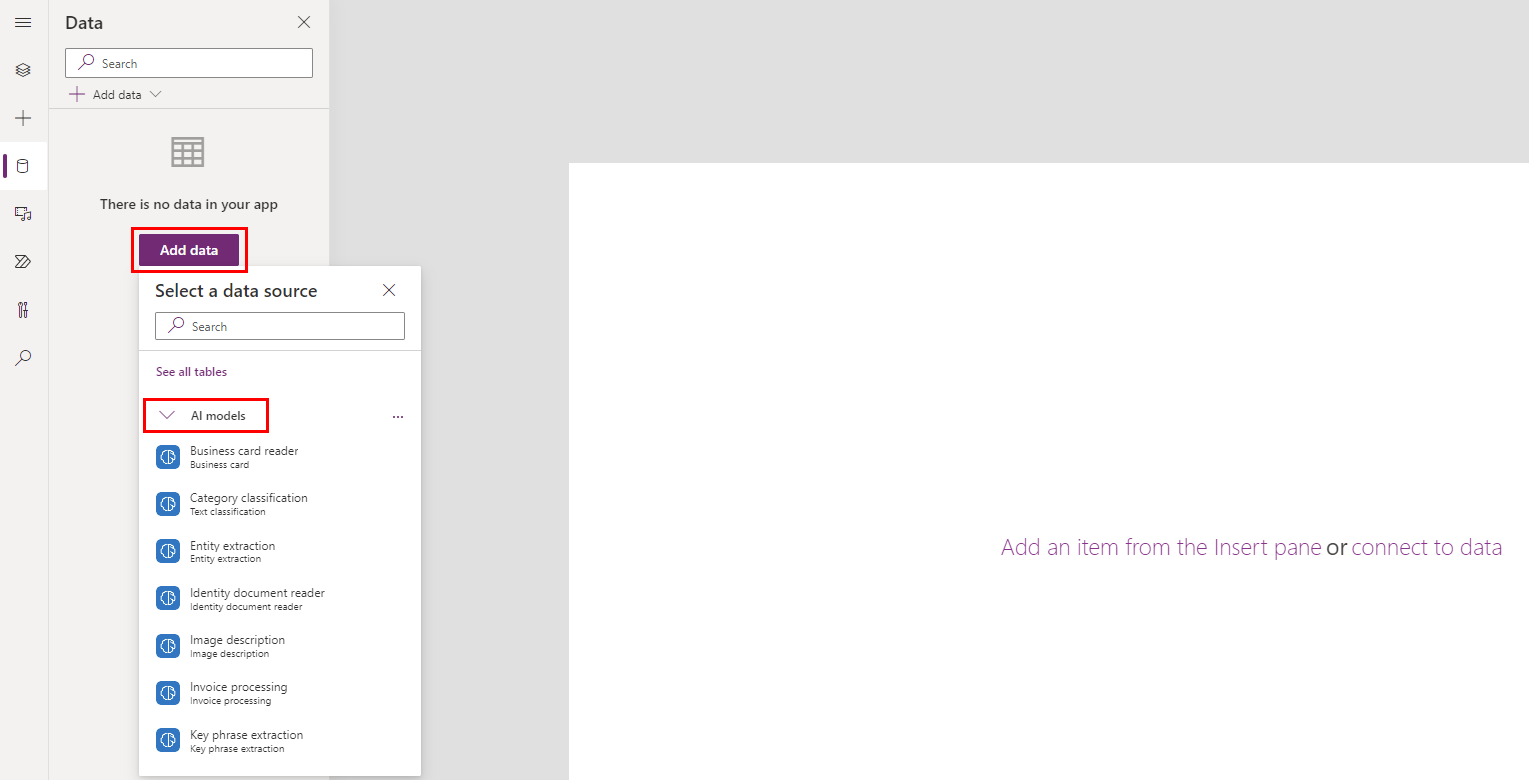
Add your AI model as Data Source
Under the Data tab, go to Add data and In the AI models list, select a language detection model. To know more about AI models please check the official Microsoft docs here.
Fig 2: Add your AI model to the APP
Add your Controls
Place a text input and two text labels on the canvas as explained below
Rename the text input to TextInput1.
Select Text label and place it on the canvas.
Rename the text label to Language.
Add another text label by selecting Text label and place it to the right of the Language text label.
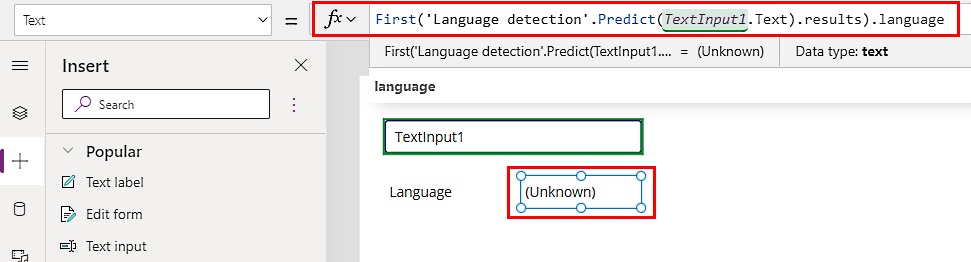
Call the AI model using Power FX
Now we can use the power FX formula to call the AI model method. Select the text label you added in step 2 and enter the following Power Fx formula.
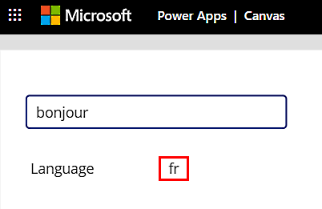
Now, save and run the app. You can type in random languages in the text box to see the AI model in action.
Fig 4: language prediction.
Now you have bound the AI model to a normal label control using Power FX.
Formula explained
‘Language detection’.Predict(TextInput1.Text).results returns a table of possible languages detected with the score. The language with the highest score (highest possible match) will be the first item in the table. So, using the function ‘First‘ the most matching language code is set to the label.
Another example of a prediction model can be found here.
A single default environment is automatically created by Power Apps for each tenant and shared by all users in that tenant. Whenever a new user signs up for Power Apps, they’re automatically added to the Maker role of the default environment. The default environment is created in the region closest to the default region of the Azure AD tenant. Read more
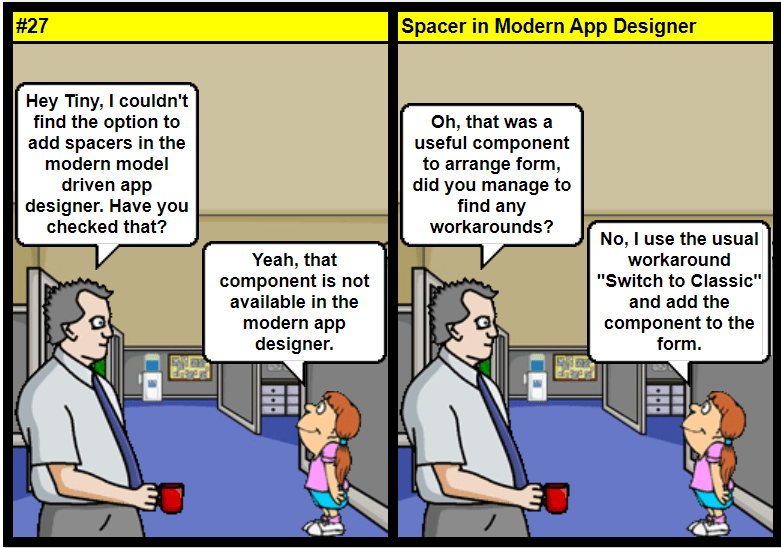
Image: To add spacer switch back to the classic editor and add.
While modern app designer provides phenomenal low code experience, it still misses some small and useful components in the classic editor. One such component is spacer control. Currently, this can be added to the form only by switching back to the classic designer, once added, we can switch back to the modern editor. Please upvote the Idea suggestion here to enable this component in the modern designer.
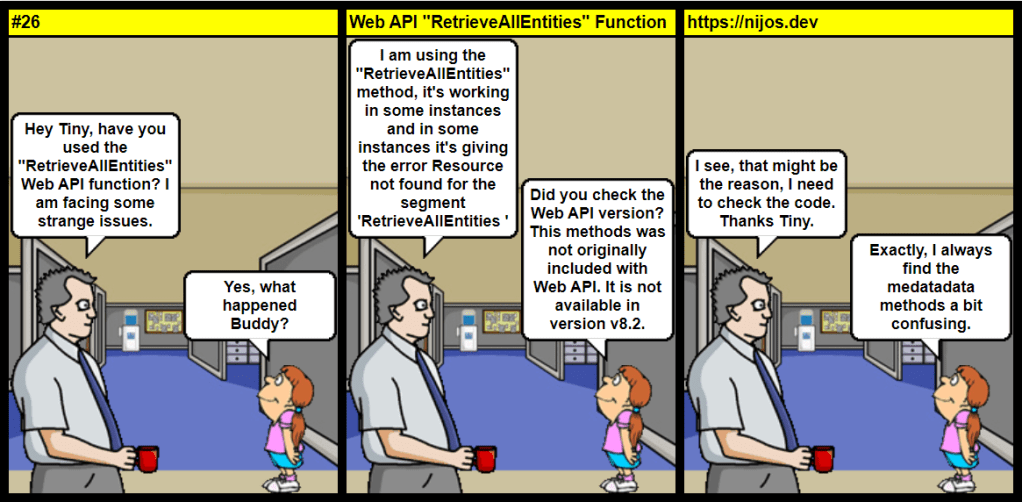
The Web Api method “RetrieveAllEntities” function can be a bit confusing as it was not included in the early versions and will give you errors, if you have the older end point hardcoded in your code.
GET {{webapiurl}}RetrieveAllEntities(EntityFilters=Microsoft.Dynamics.CRM.EntityFilters'Entity', RetrieveAsIfPublished=true)
This function should be used with caution and appropriate filters, since it can return a huge amount of data. Read mode about the function here
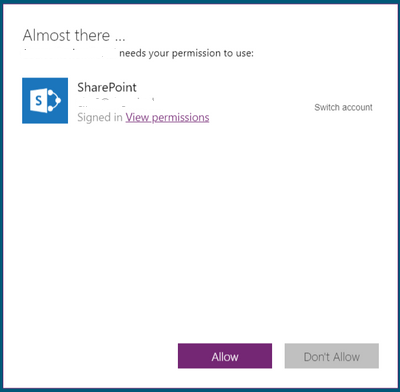
Every time when a user runs a powerapp with connectors for the first time, they will receive a popup asking their consent to use the connectors in the specific app.
User Consent Pop-up
Use the Set-AdminPowerAppApisToBypassConsent cmdlet to bypass this pop-up, so that users are are not required to authorize API connections for the input app. The command changes the bypassConsent flag of an app to true. Using this command, end users will observe consent is bypassed for First Party connectors that support single sign-on and custom connectors that don’t require authentication. This includes custom connectors with or without a gateway. Read more here.
The new modern model-driven app designer has an easy to use interface, and in sync with canvas app designer. However, the preview has the following known limitations.
You can’t add the following model-driven app components:
URLs
Business process flows
Charts
You can’t add more than one area to the app’s navigation site map.
You can’t change the app’s icon.
You can’t specify the app’s URL.
You can use the Switch to classic option to use the classic designer to complete the above app design tasks.
Don’t be like our Buddy in the above comic strip, always check the official docs to see the known limitations, read more here.